Adding a Supplier
The following will be a guide will hopefully help you familiarize yourself with the supplier subsection of the Prime Freight Logistics.
Viewing your current suppliers
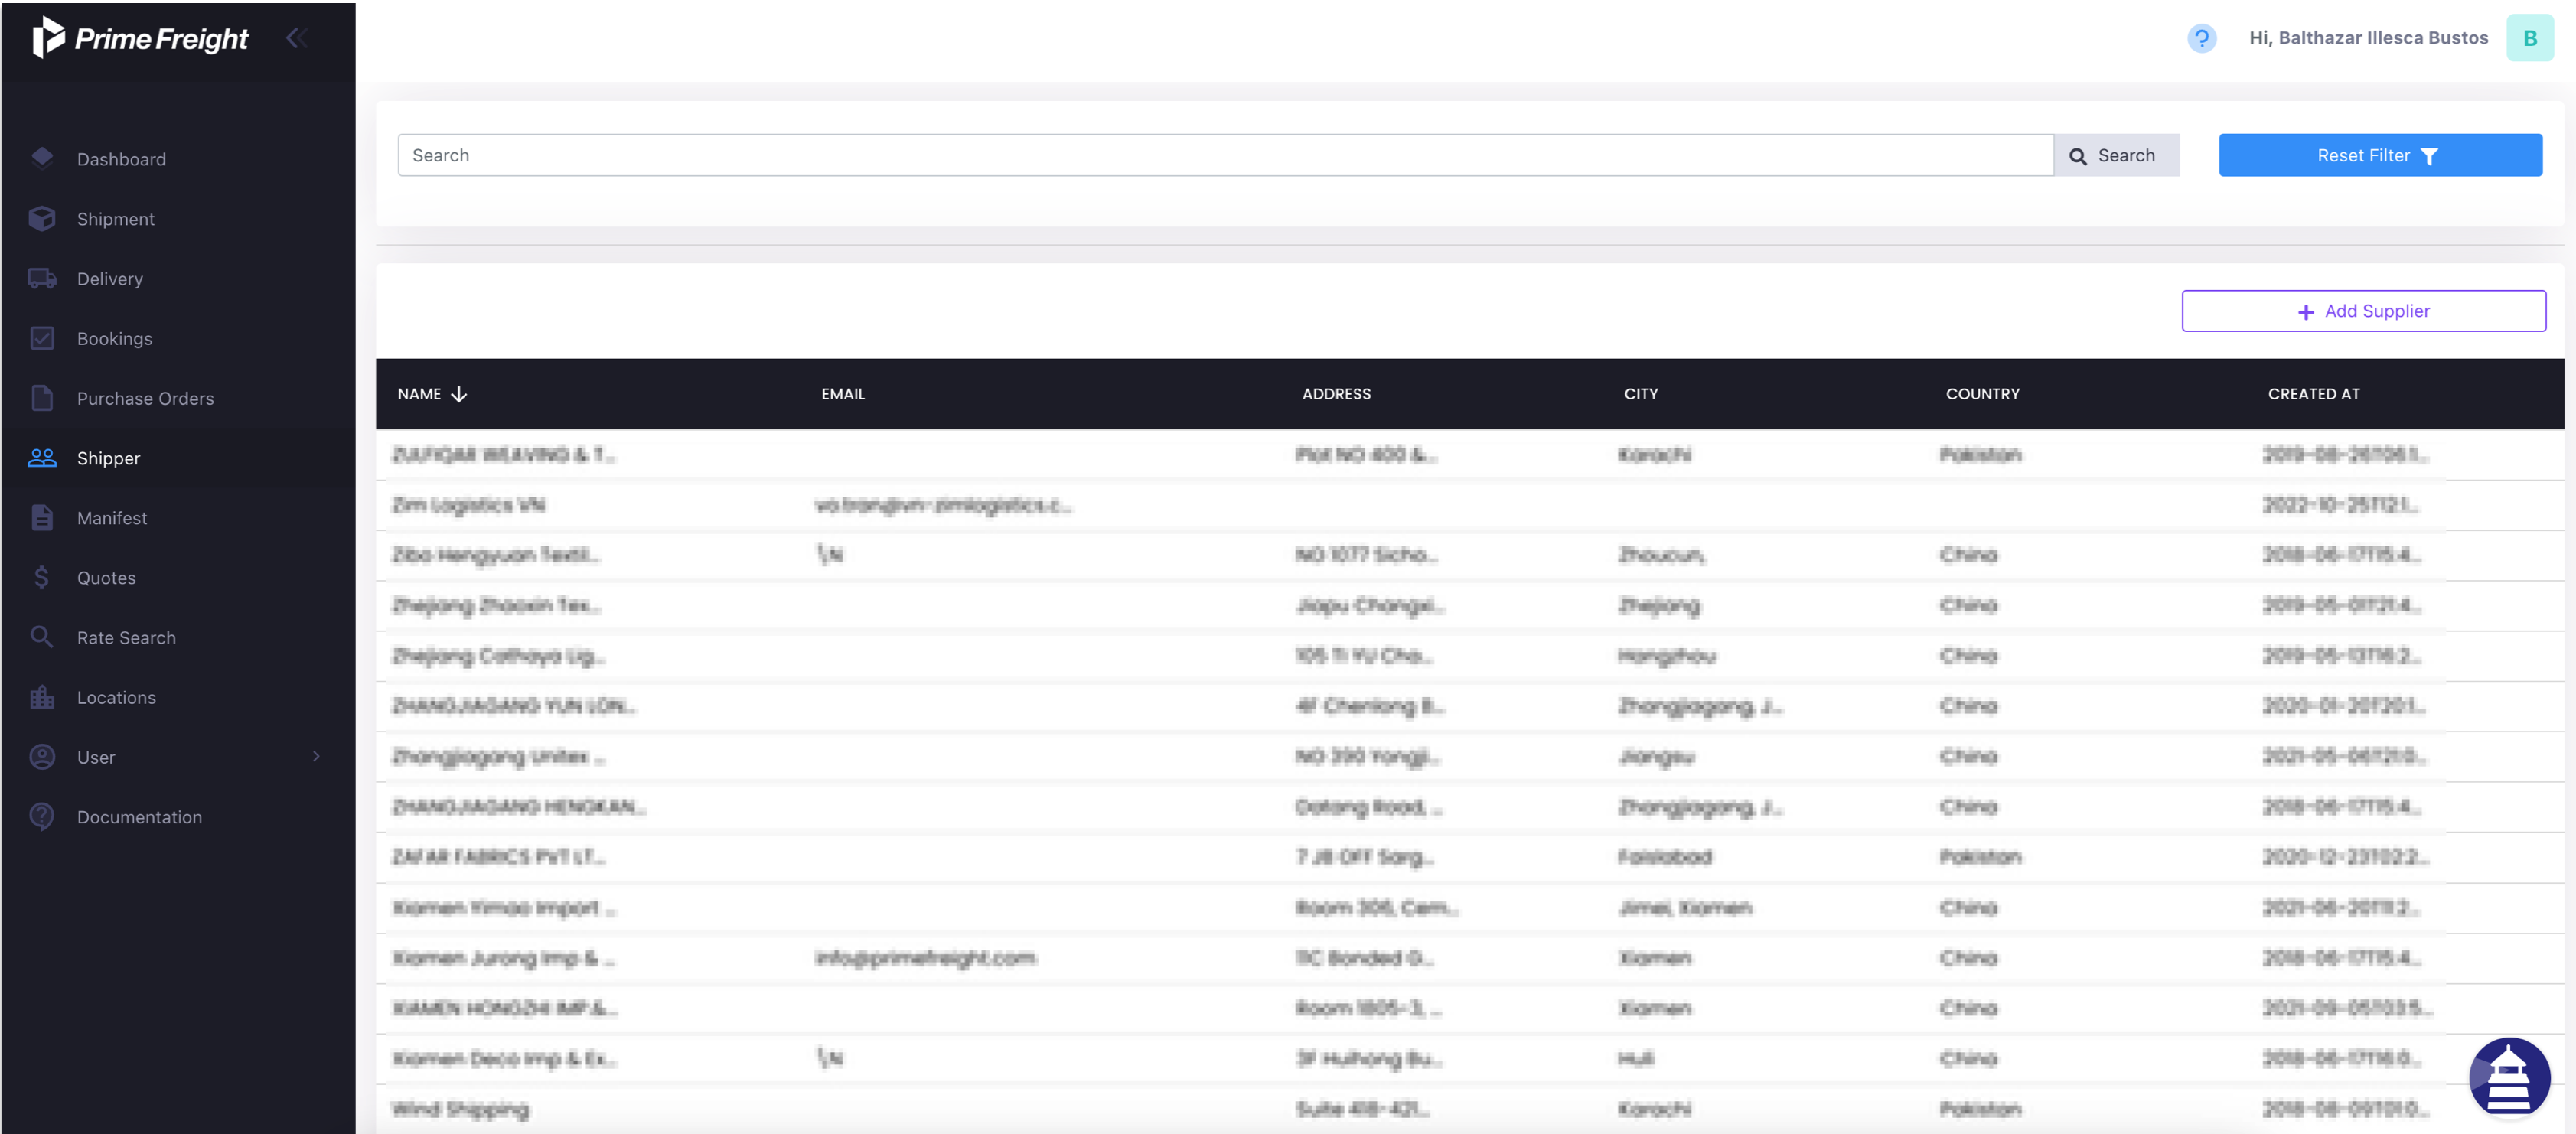
To begin with, in the Prime Freight Logistics dashboard, you will click the "Shipper" section on the left side of the screen as seen below:
Once in the shipper subsection, you should be able to se all of your current suppliers as illustrated below:
You will have different categories to classify your suppliers, such as their name, email, address, city, country, and the date this supplier was created in the platform.
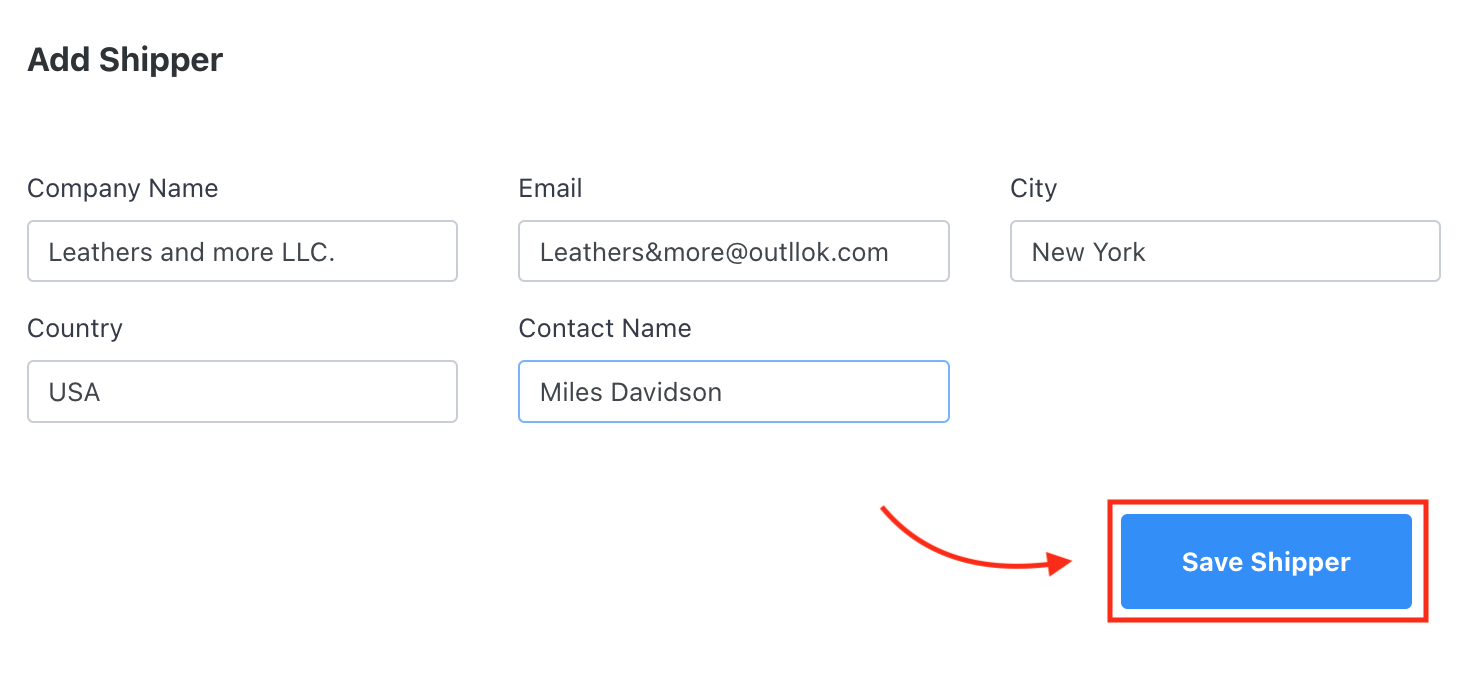
Now, in order to add a supplier, you will need to click the "Add Supplier" checkbox. By doing so, you will be asked to fill in the required information for a new supplier. In this case, the company name, their email or contact email, city they are located in, the country they are located in, and their contact name. Once these information have been filled, you click "Save Shipper". Then following example illustrates this process.
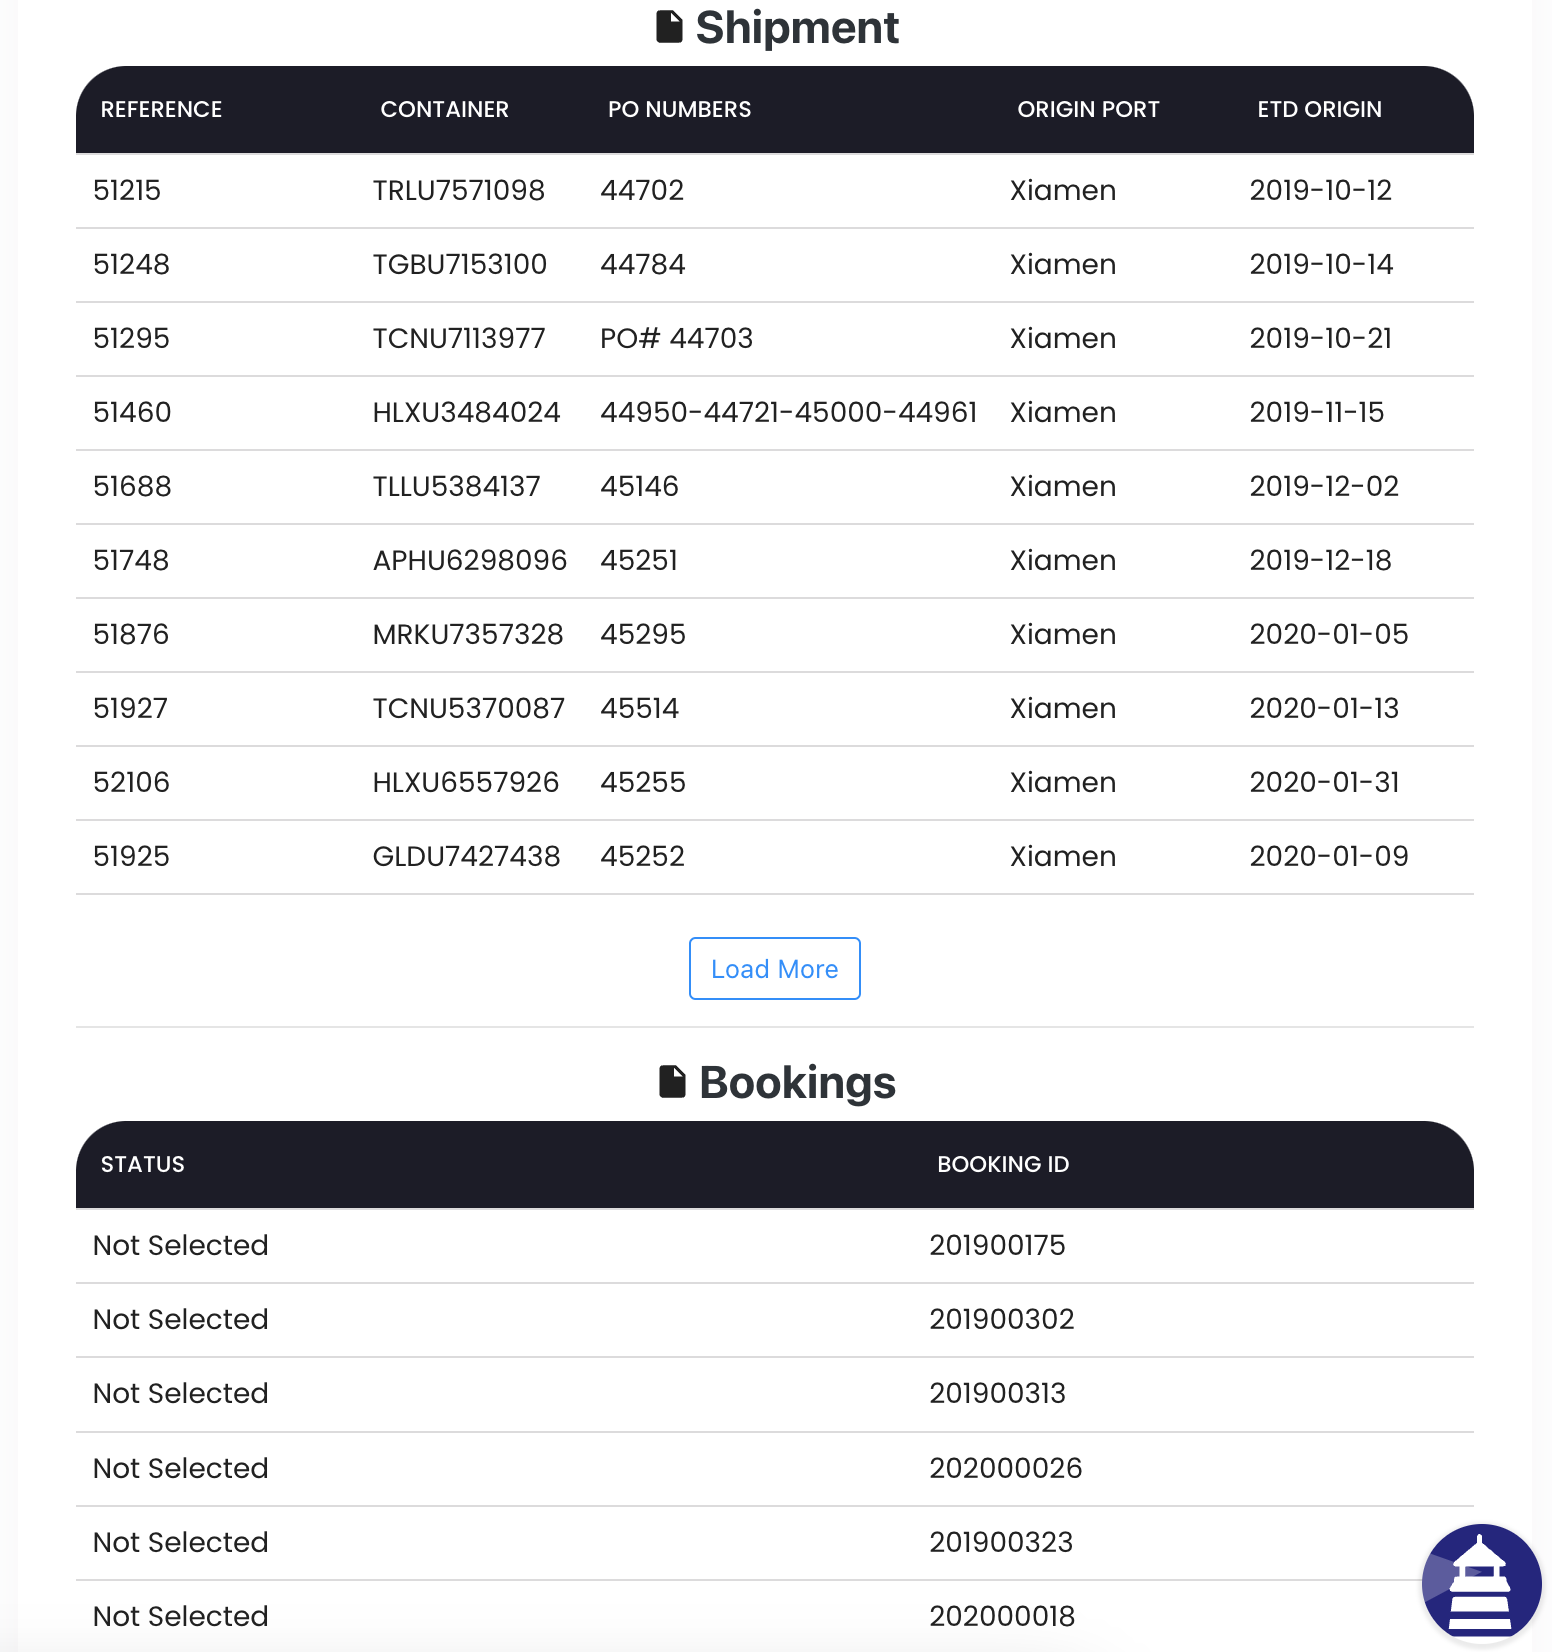
When clicking on your suppliers, as seen below, you will be given additional information regarding the shipment you have with that supplier (if any), as well as your bookings with them (if any). You can also click the shipment or booking information, which will take you to their respective pages.
As you will see, most of the Prime Freight Logistics portal sections will give you references to shipments in other sections such as being able to see the booking, as well as the actual shipment from different sections, such as the "Shipper" section.


